Before launching the Table Realms IDE, the installer needs to be downloaded from the appropriate repository.
Once the Table Realms IDE has been installed, it can be launched in a variety of ways:
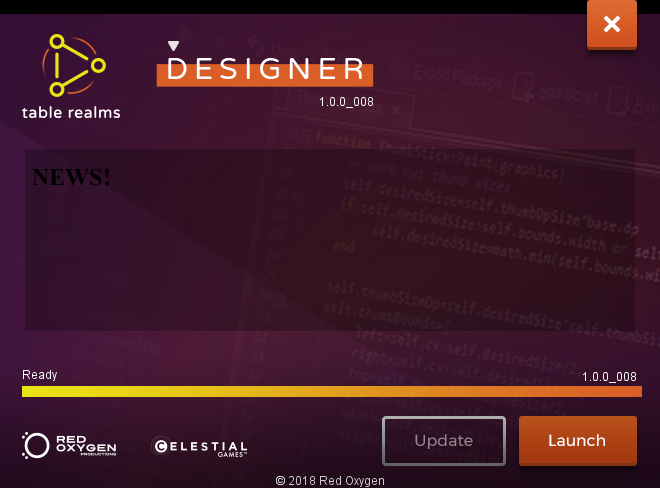
Using the desktop or taskbar icon. On initial launch, and any subsequent launch that requires an update, the launcher will look and behave like this:
On any subsequent launch that does not require an update, the launcher will look like this:
The default folder for the Executable is found at C:\Program Files\TableRealmsIDE\base\app, and is named TableRealmsIDE.exe. Alternatively, it can be found in the folder designated by the user during installation.
The IDE can be launched using command line input, as follows:
TableRealmsIDE.exe [-o path] [-O path] file

-o -O: Write out all assets of the augmentation file into this folder. (Only if this folder exists. If it does not exist, create it.)
file: The augmentation file to load
Alternatively, the path for the executable is stored in the environment properties as TableRealmsIDE_HOME. This allows the IDE to be launched from within Unity and other game development platforms.
Opening or Creating a Project
After launching the IDE, you can either open an existing project, or create a new one.
To create a new project, click on the “Create New” button in the bottom right of the window, and navigate to the folder where you want your project to live.
Importing the Necessary Scripts
Before your project will work, you need to import the necessary lua scripts. To do this, you need to click on the “Scripts” menu item at the top of the IDE window, and then click on “Import Base”, “Import Components”, and “Import Players” options.
NOTE: Ensure that you only import each of these files once! Duplication could lead to your IDE project malfunctioning.